

Transforming your car into a solar-powered machine goes beyond a tech upgrade. This improvement brings significant changes, providing energy to run the fridge, lights, and charge all your gadgets. However, installing solar panels on car roofs can be quite challenging. Come let us explore this blog for the step-by-step process of setting up a solar array on your car.
How to Install Solar Panels on Car Roof
If your car roof has the structural capacity, accessible space, and mounting equipment, considering installing solar panels can be valuable. This process requires commitment and technical skills for a comprehensive and efficient setup. The steps on how to install a solar array on car are as follows:
Step 1- Retrieve and Prepare: Take the solar panel and battery out of storage, placing the battery inside the car trunk to serve as the power storage unit for the solar panel.
Step 2- Connect Components: Begin the connection process by attaching the solar panel cables to the battery, ensuring a secure connection to both the positive and negative poles.
Step 3- Secure Wiring: To prevent short-circuiting, fasten the wires to the charge controller using the provided screws and plates. Avoid any possible contact between wire ends during this step.
Step 4- Prepare Solar Panel: Flip the solar panel over and wrap the wires with electrical tape. This preventive measure is essential to reduce the risk of accidental contact and enhance overall safety during the installation procedure.
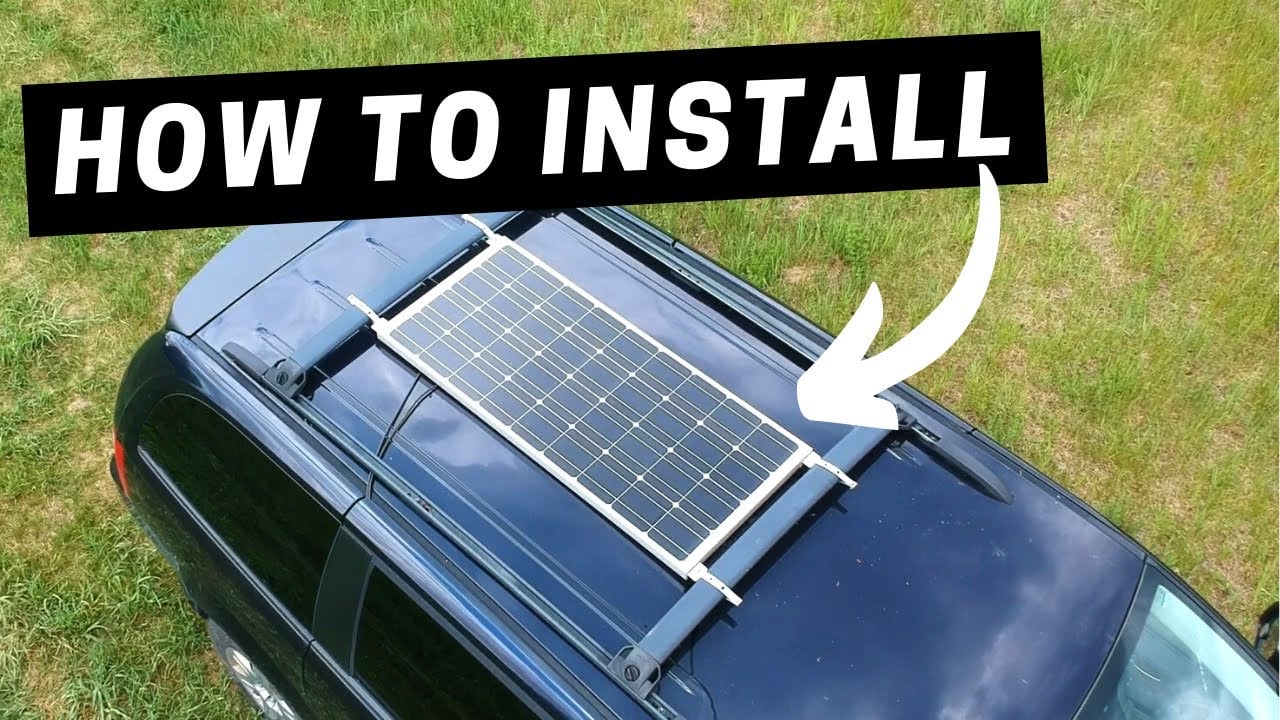
Step 5- Install and Adjust: During the installation phase, use Z-shaped brackets and bolts to secure the solar panel to the car roof. Additional brackets may be necessary for optimal connection. Adjust the solar panel’s position on the roof, leaving some slack in the wiring. Once in place, securely tighten the bolts.
Also, check out 10 Best Solar Car Battery Charger With Overcharge Protection
Step 6- Pass Wires through the Door: Guide the wires through the water barrier in the car door. If needed, make a small hole for the cables to pass through, ensuring a clean and organized installation.
Step 7- Seal Openings: After passing the wires, use an appropriate sealant to plug any holes created. This step is crucial for maintaining the car’s weathertight integrity.
Step 8- Final Connection and Check: Connect the solar panel’s cables to the charging controller, with the black wire to the negative terminal and the red wire to the positive terminal for a reliable electrical connection. Verify that the solar panel is charging the battery to confirm a successful installation, ensuring your solar-powered system is ready for use.
Also See: Can I Install My Own Solar Panels in Massachusetts?
Following these steps precisely enables a systematic and safe installation of solar panels on a car roof.
What Factors Should You Consider When Installing Solar Panels on a Car Roof Rack?
Key factors to consider when mounting solar panel on car roof rack:
1. Roof Strength and Stability: Ensure your vehicle’s roof can sustain solar panels and resist wind forces to prevent detachment. Consider the suitability of different roof types and shapes, such as aluminium roof racks for various constructions.
2. Optimizing Panel Characteristics: Choose lightweight panels to maintain vehicle mileage and install them in an aerodynamically efficient manner. Confirm that rigid-frame panels are strong enough to withstand forces during high-speed or rough driving situations.
3. Roof Rack Installation: Select an appropriate roof rack installation method based on your preferences, such as under-the-roof rack, direct bolting, or tilt mounts. Prioritize secure installations to avoid accidents. Examine the type of vehicle and rack usage to avoid occupying all of the roof rack space with solar panels.
4. Surface Preparation for Adhesion: Thoroughly clean the car roof surface before installation to eliminate any dirt, grease, or debris that could disrupt the solar panel’s adhesion.
5. Precise Measurement for Optimal Positioning: Measure the size and shape of the car’s roof to determine the best position and angle for installing flexible solar panels, ensuring stability and safety.
6. Strategic Tool Preparation: Gather essential tools, including backing tape, double-sided tape, brackets, rails, etc., based on the chosen mounting method.
7. Final Inspection: Conduct a comprehensive final inspection to ensure the installation is complete and secure, with no gaps or looseness, guaranteeing both safety and effectiveness.
Now we know, prior to execution, ensure your car roof can handle the load, has sufficient space, and is equipped for mounting solar panels. Following these checks, you can successfully install solar panels on your car roof.
Recommended: 4 Types of Solar Carport


